 info@magnet-store.co.uk
 0800 009 6562


industry
Magnets for 3D Printing
Neodymium magnets for 3D prints, from small discs for enclosures and models to countersunk magnets for wall-mounted parts. Find the right size, size the hole, fix the magnet in and get the polarity right. Our free 3D Print Magnet Designer can size the hole for you.
Disc magnets for 3D prints
Choose from the stock sizes below. Sizes are diameter x thickness in millimetres, and each product page lists the grade, pull force and tolerance.
Popular sizes
-
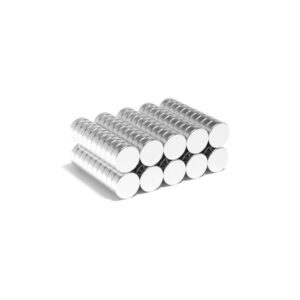
6mm x 2mm Neodymium Disc Magnet N42 (0.59KG Pull)
From £6.55 (£5.46 ex VAT) -
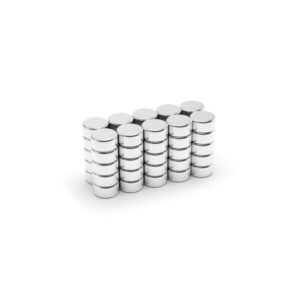
6mm x 3mm Disc Neodymium Magnet N42 (0.90KG Pull)
From £6.64 (£5.53 ex VAT) -
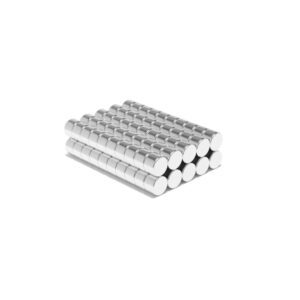
6mm x 4mm Neodymium Disc Magnets N42 (1.11KG Pull)
From £6.83 (£5.69 ex VAT) -

8mm x 3mm Neodymium Disc Magnet N42 (1.38KG Pull)
From £7.21 (£6.01 ex VAT) -
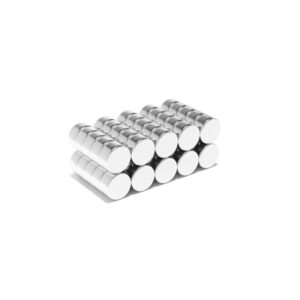
8mm x 4mm Neodymium Disc Magnet N42 (1.82KG Pull)
From £7.69 (£6.41 ex VAT) -
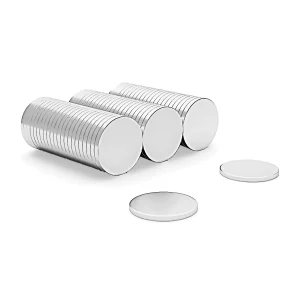
10mm x 2mm Neodymium Disc Magnet N42 (1.16KG Pull)
From £6.39 (£5.32 ex VAT) -
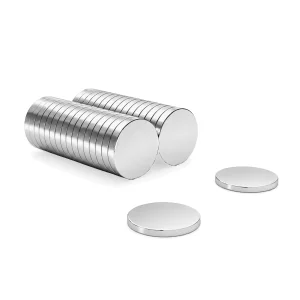
10mm x 3mm Neodymium Disc Magnet N42 (1.91KG Pull)
From £7.88 (£6.57 ex VAT)
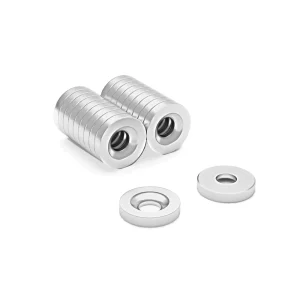
Larger and screw-fixing

Small and thin
Need a different size or shape?
If you can't see the grade or size you require, get in touch. We may have it off the shelf, and if not, we can quote to have it made.
Which size to choose
Magnets turn up in almost every kind of print: electronics cases and box lids, tool holders, Gridfinity and workshop storage, modular models, cosplay props and helmets, tabletop miniatures and terrain, fridge magnets and fidget toys. If you're printing someone else's model, check its description first, because the designer drew the pocket for one particular magnet.
If you're designing your own, size the magnet to the part:
- Small, light parts such as bins, boxes and small lids: 6x2mm and 6x3mm discs are the usual choice.
- Bigger parts that are handled a lot such as box lids, cases and tool holders: 8x3mm and 10x3mm give a firmer hold.
- Heavy or wall-mounted parts: go up a size, use more than one magnet, or choose a countersunk magnet you can screw in.
- Miniatures and very small parts: the smallest discs, so the magnet hides inside a base or a joint.
To compare the pull of different sizes, use the MagNet™ Pull Force Calculator.
Sizing the hole
Magnets can measure slightly under their stated size. In a pocket drawn for 3mm, a thin magnet sits low and the joint feels weak; in a press-fit hole it can fall straight out. Each of our product pages lists the tolerance, so you know what you're designing for.
Let the software size it for you with our 3D Print Magnet Designer. Upload your model and it measures the magnet hole, resizes it for a stronger magnet, or adds a new hole sized for your printer. If you'd rather work it out by hand:
- Printed holes usually come out slightly smaller than drawn. The amount depends on your printer, material and slicer settings.
- For a glued fit, draw the hole a little larger than the magnet so there's room for adhesive.
- For a press fit, the hole needs to be very close to the magnet's size so the plastic grips it.
- A simple way to find your numbers is to print a small test block with a row of holes in small steps, then try the magnet in each one. Do it once per printer and material, and keep the result.
- Make the pocket deep enough for the magnet to sit flush or just below the surface. A magnet that stands proud gets knocked out.
Press-fit, glue or print over
Press-fit
Quick and clean, with no glue to cure. Push the magnet in squarely with a flat tool rather than hammering it, because neodymium is brittle and can chip.
Glue
Best for parts that take knocks. A two-part epoxy is thick enough to fill small gaps, shrinks very little as it cures and stands up well to impact. Superglue cures hard and brittle, so the bond can crack under stress. Clean the magnet and the hole with isopropyl alcohol, put the adhesive in the hole, and let it cure fully before you load the joint.
Pause and print over
Add a pause at the layer where the pocket is complete, drop the magnets in, then let the printer close the pocket over them. The magnet is trapped and needs no glue. Make the pocket deep enough that the nozzle can't catch the magnet, and seat each magnet firmly, with a tight fit or a drop of glue, or it can jump up onto the print head as it passes.
Why magnets come loose
When a magnet comes loose, it's nearly always the joint, not the magnet.
- The wrong glue. Superglue is brittle once set and can crack under stress. Use a two-part epoxy for parts that are handled or dropped.
- A greasy or dusty surface. Wipe the magnet and the hole with isopropyl alcohol before gluing.
- An oversized hole. Glue won't make up for a loose fit. Use your test block to get the hole right.
- A magnet that sits proud. Recess it flush or slightly below the surface.
- Two strong magnets meeting. The pull between them can drag one out of its hole. If you face this issue, use a smaller magnet on one side, or pair the magnet with a steel disc or washer.
Don't sand or scuff the magnet to give the glue more grip. The coating protects neodymium from corrosion, and if it's chipped or cracked the magnet can rust. Some coatings are more suitable than others, depending on where the part will be used: a damp shed or outdoor part needs more protection than one kept indoors. Our guide to magnet coatings compares each coating and what it suits.
Getting polarity right
Two parts that should snap together will push apart if one magnet goes in the wrong way round, and once it's glued it's hard to fix.
- Stack your magnets into a single column before you fit anything. While they're stacked, every magnet faces the same way, so every top face is the same pole.
- Mark that top face with a dot of paint or permanent marker while they're still stacked.
- Fit the marked faces facing out on one part and facing in on the mating part. Test the pair dry before any glue goes in.
If a magnet does go in backwards, don't try to drill it out. Neodymium is brittle and can chip or break. It's usually easier to reprint the part.
Grade and heat
A higher grade gives more pull from the same size, which helps when you can't make the magnet any bigger. Each product page lists its grade and maximum working temperature. If a part will sit in a hot enclosure, near a heated bed or in a car in summer, see our high temperature magnets and the neodymium magnet grades guide.
Pull force figures are for a straight pull on thick bare steel with no gap. In a print, any plastic between the magnet and what it holds acts as a gap, and pull falls quickly as that gap grows, so keep the layer over the magnet as thin as you can. To compare grades and sizes, and see how much pull is left through a gap, use the MagNet™ Pull Force Calculator.
For 3D printing businesses
If you sell printed products or run a print farm, we supply magnets for production runs. For larger quantities, see wholesale and bulk magnets. If you need a size, grade or coating we don't list, we can quote to have it custom made. The MagNet™ Pull Force Calculator gives a technical data sheet for your exact size and grade.

Rapid Response Times
Experience rapid response times for seamless communication and efficient service in your important projects.

Award-winning Solutions
Enjoy our multi-award-winning expertise as we pioneer industry-leading innovative magnetic solutions.

Fastest Lead Times
Benefit from industry-leading lead times, averaging just 15 working days for prompt delivery without compromising quality.

Custom Manufactured Solutions
Trust our precision-manufactured magnetic solutions for reliable performance and consistency in your applications.

Quality and Compliance
Rely on our commitment to REACH and ROHS compliance for quality, safety, and environmental friendliness.

No Minimum Order Quantity
Enjoy our flexible approach and no minimum order quantity policy for projects of any scale.

Expert Technical Support
Access our expert technical support from our experienced team for optimal product selection, integration, and application.
Rapid Response Times
Experience rapid response times for seamless communication and efficient service in your important projects.
Award-winning Solutions
Enjoy our multi-award-winning expertise as we pioneer industry-leading innovative magnetic solutions.
Fastest Lead Times
Benefit from industry-leading lead times, averaging just 15 working days for prompt delivery without compromising quality.
Custom Manufactured Solutions
Trust our precision-manufactured magnetic solutions for reliable performance and consistency in your applications.
Quality and Compliance
Rely on our commitment to REACH and ROHS compliance for quality, safety, and environmental friendliness.
No Minimum Order Quantity
Enjoy our flexible approach and no minimum order quantity policy for projects of any scale.
Expert Technical Support
Access our expert technical support from our experienced team for optimal product selection, integration, and application.
Safety
Neodymium magnets are not toys. Keep them away from children: swallowing even small magnets can cause life-threatening internal injuries. Keep them away from pacemakers and other implanted medical devices. Read our magnet safety guide before you start.
Frequently asked questions
What size magnets do most 3D printing models use?
6x2 and 6x3mm discs are among the most popular, with 8x3 and 10x3mm for bigger parts. Check the model's description, because the designer drew the pocket for one particular magnet.
How big should I make the hole for a 6x3mm magnet?
It depends on your printer and material, because printed holes usually come out slightly small. Print a test block with holes in small steps around 6mm and use the one that gives the fit you want: snug for a press fit, slightly looser for glue. Or upload your model to the 3D Print Magnet Designer.
What's the best glue for magnets in 3D prints?
A two-part epoxy. It fills small gaps and stands up well to impact, while superglue cures brittle and can crack. Clean the magnet and the hole with isopropyl alcohol first, and let the epoxy cure fully.
How do I keep the polarity the same on every magnet?
Stack the magnets in a column, mark the top face of each, then fit them all with the marked face the same way. Test the two parts together before you glue.
Should I sand magnets so the glue sticks better?
No. Sanding damages the coating that protects the magnet from corrosion. Get the hole size right, use epoxy, or print over the magnet instead.
Does a higher grade magnet help?
A higher grade gives more pull from the same size, which helps when space is tight. If the joint needs more hold and you have room, going up a size also works.
Order Custom Magnets
Get a quote tailored to your custom magnet needs. Offering a wide range of shapes, sizes, grades, coatings, and magnetisation directions, we ensure industry leading precision and quality. Reach out now for a quote and delivery time. Quotes within 1-3 business days.